

Black Garlic Fermentation Process: A Simple Guide
Did you know that black garlic is not its own plant, but regular garlic transformed through a careful fermentation process? I didn’t either until I read that it’s popular with Michelin star chefs across the U.S.—no surprise since more people are betting on its mellow, umami-packed flavor. I still remember having dinner at a friend’s restaurant packed with foodies. He handed me a tiny clove and said, “Chew this.” Smooth, smoky, slightly tangy—and completely addictive.
If that flavor bomb has you curious, picture this: the Black Garlic Fermentation Process turns raw, punchy bulbs into sweet, molasses-like treats by keeping them in a humid environment for weeks. Last weekend I opened my rice cooker to sticky, deep-brown cloves that practically melted on my tongue. Whether you love to experiment in the kitchen or long for superfood status, understanding the Black Garlic Fermentation Process gives you culinary bragging rights you can actually taste. Learn the basics, pick up affordable tools, and start “How to Make Black Garlic at Home” for yourself. Ready to dive in?
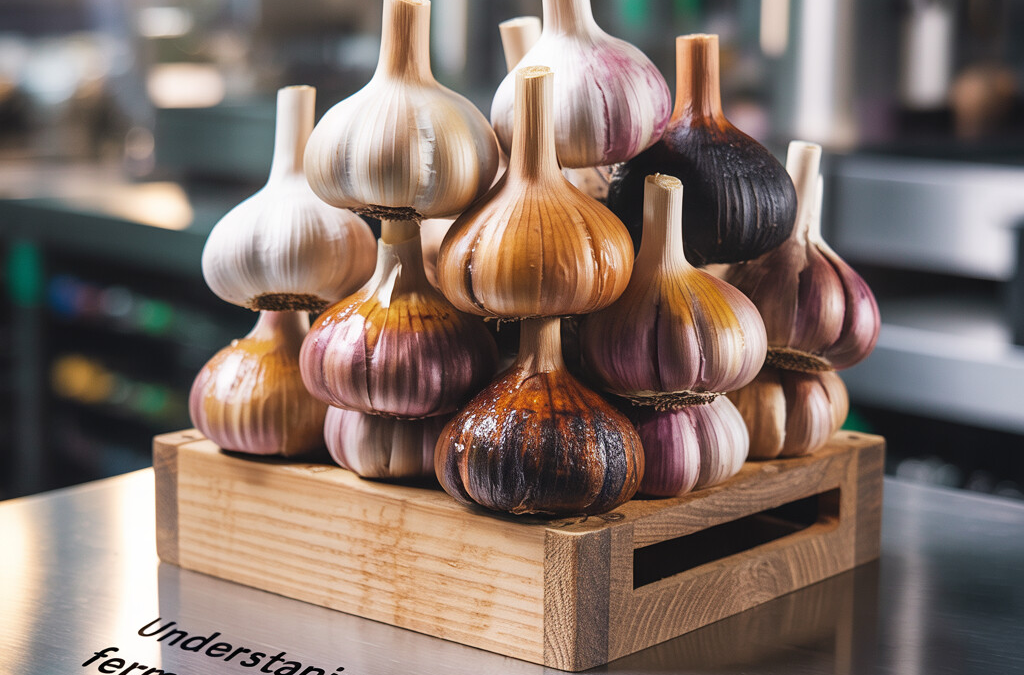
Understanding the Black Garlic Fermentation Process
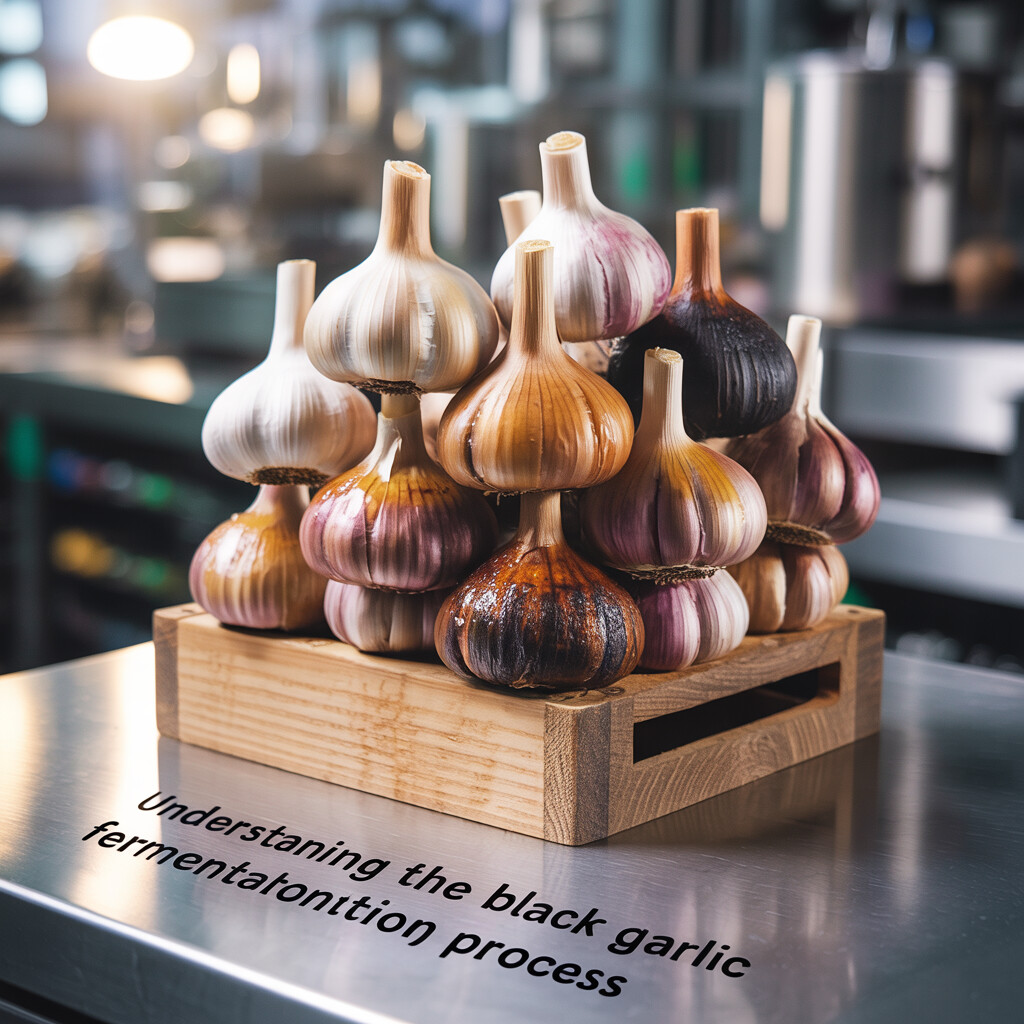
If you have ever stopped at a food shop amazed by those tender, jet-black garlic bulbs, you are not alone. Black garlic walks a fine line between science and art, and the Black Garlic Fermentation Process is where all the magic starts. Instead of letting cloves rot, the process carefully alters garlic under precise conditions over weeks; the actual stars of black garlic are heat, humidity, time, and the science cooked up inside the bulbs.
How Black Garlic Fermentation Transforms Garlic
Let’s talk about what really happens inside that bulb. The Black Garlic Fermentation Process keeps cloves at moderate heat and high humidity, with daily babying and patient waiting. No yeasts or weird bacteria will ever darken the door of good black garlic—just garlic itself and a gentle stretch of time. The raw cloves transform, turning sticky, sweet, and complex. Molasses and balsamic vinegar flavors appear. Antioxidants grow (science, hooray), and harsh raw notes become balanced and mild. Kitchens fill with the slightly tart smell of slow-cooked garlic bread.
Black garlic has found fans thanks to its richness and full flavor, but for most home cooks, sourcing high-quality product means dealing with expensive online sellers or unpredictable markets. This is why I have helped countless folks learn how to “grow” their own with only a few key adjustments to what you already own at home.
Creating this flavor bomb does not require the skills of a chemist—simply a cue from nature and a bit of knowledge about what goes on under the skin. If you have a rice cooker, slow cooker, fermentation box, or even an instant pot with a yogurt setting, you are halfway to eating black gold. And, as you look for new things to do with your black garlic (like try it on toast or whisk it into vinaigrettes), knowing where every clove began just makes it even more enjoyable.
Essential Equipment for Home Fermentation
If you want to experience the unique, deep flavors of black garlic at home, the right tools will set you up for success. As a fellow home cook who loves sneaking garlic into anything edible, I’ve found that you don’t need a chef’s kitchen or fancy gadgets. You just need a few basics to properly manage the Black Garlic Fermentation Process.
Essential Tools for Black Garlic Production
First things first. Black garlic needs steady, gentle heat over a long time. No open flames, lightning bolts, or spells required. Most people use a rice cooker or a slow cooker for this. These appliances hold a regular, moderate temperature which helps garlic go through its magical transformation. If you’re investing in one, make sure it has a keep-warm function. If yours is a digital model, test that it stays reliably below boiling.
Humidity makes or breaks this process. Some home fermenters swear by rice cookers with a tight lid, while others use an add-on like a silicone mat or a wrap of plastic wrap to minimize air exchange. It’s not science fiction. It’s just about keeping moisture in so your garlic won’t dry out before it’s ready.
When handling your garlic bulbs or peeking in on their progress, heat-safe gloves will save your fingers. There’s no prize for burns. Since this is mostly a “set it and forget it” project, grab a kitchen timer or reminder. Most times, a good wall calendar works—mark your start date, then spend the next few weeks watching TV and talking about your new hobby.
Finally, a wire rack or heating mat works wonders for airflow if your slow cooker or rice cooker tends to overheat at the bottom. Garlic does not like scalding, and you’ll find that a rack keeps aromas moving while it ferments.
That’s it: a rice or slow cooker, something to trap moisture and keep heat steady, a set of oven mitts, and a calendar to remind you of the finish date. Even my snobby food-friend circle has used these tools with no trouble and plenty of reward. Add your garlic bulbs and let the Black Garlic Fermentation Process work its quiet, savory magic.
There are advanced gadgets and full-blown fermentation boxes, but you need zero upgrades for great-tasting black garlic at home. Keep the process gentle and contained, and you’re halfway to world-class black garlic. Try it. You’ll never go back to expensive store-bought stuff.
Step-by-Step Guide to Making Black Garlic at Home
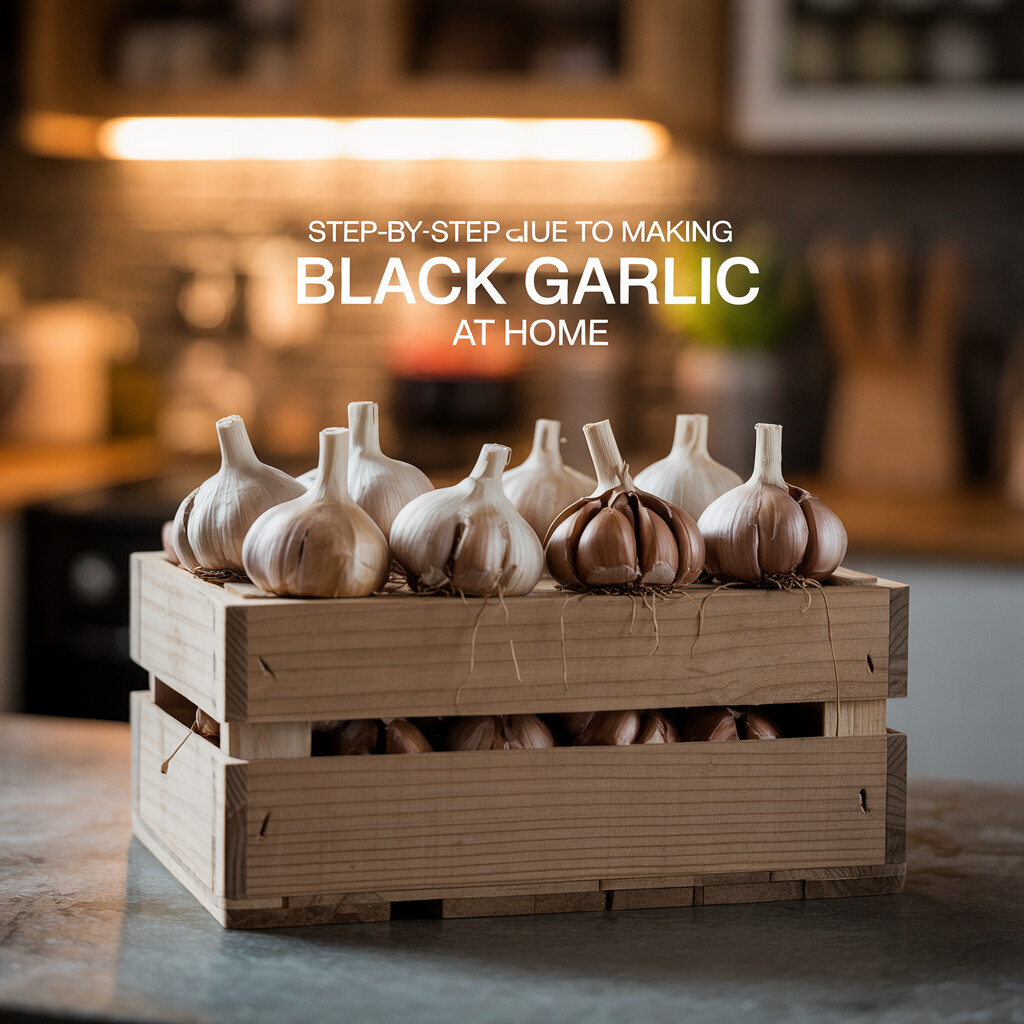
Ready to create your own black garlic stash? Let’s break down the Black Garlic Fermentation Process into simple, totally doable steps. You only need patience, a bit of curiosity, and the right setup. Let’s face it, tracking down a quality pre-made option can be tough, so why not take matters into your own hands?
Making Black Garlic From Scratch: Main Steps
Here’s how to get started:
- Choose whole bulbs of fresh garlic. Don’t break them up. Peel off only the loose papery skin to keep the bulb intact, but leave the cloves protected.
- Clean your rice cooker or slow cooker really well. Wipe down the inside. You do not want any leftover odors seeping in. Get cozy with that slow cooker, because your garlic needs to sit undisturbed for quite a stretch.
- Wrap each bulb snug in a layer of paper towel, then aluminum foil. This helps regulate moisture and shields against too much direct heat.
- Arrange the prepared bulbs gently in the cooker. Leave a bit of space between them. If your device has a warm setting (not “cook” or “high”), that’s the sweet spot for the Black Garlic Fermentation Process. Let them rest here.
Curious how this stacks up with other methods you might have seen?
*Note: Home ovens tend to get hot spots, so results can be uneven and drier than the low-steady heat of a cooker.
Monitor moisture by checking your bulbs weekly. If they seem to be drying out, add a shallow dish of water to the cooker to add a little humidity. If they look soggy or moldy, reduce moisture right away.
- Check progress after week two. Black garlic softens and darkens deeply as the Maillard reaction transforms it. Don’t cut or poke too soon. Instead, unwrap a single test bulb every 7 days. Is it sweet, tangy-smoky, and tender to the touch? If not, chill out a little longer. The trick to homemade magic is waiting until the moment feels absolutely right.
These simple rules make it easy to enjoy rich, irresistible black garlic no matter where you live. Whether you’re motivated by curiosity, running short on gourmet shops, or just wowed by the Black Garlic Fermentation Process, this is about as foolproof as it gets.
Optimal Black Garlic Temperature and Humidity Settings
If you want silky smooth black garlic at home, knowing your numbers is key. If things get too hot or too cold inside that rice cooker, you might end up with something closer to beet jerky rather than the fudgy clove you’re craving. Imagine opening your cooker and catching that molasses-salty aroma — not the dreaded whiff of overcooked garlic. Getting the Black Garlic Fermentation Process right comes down to two basic things: temperature and humidity.
Getting the Right Conditions: Heat and Moisture
You want the temp to sit safely between 140 and 170°F (60 to 77°C). That’s Spirit Week for garlic — warm enough for easy transformation, but never so hot things dry out. Your ears might tell you this is a job for a pro kitchen but a simple rice cooker shines here. A slow cooker with a “keep warm” function works too, and neither needs watching around the clock. Garlicky steam lets you know things are going well. Be glad these little pods stay tucked safely inside. Without this warmth, the magical Black Garlic Fermentation Process just can’t start.
The next friend is humidity. Black garlic needs surroundings as balmy as a summer night in Georgia, not the dryness of Arizona. You want humidity right around 80 percent. Place a wet dish towel between lid and top of your cooker before sealing. Or drop a dish of water into the bowl for extra humidity.
Any sudden dips or spikes mean uneven bits — some garlic silky, other parts rubbery and mean. Stick to this climate, check water levels every few days, and nap well.
With this careful method, you’re setting up the perfect conditions for the Black Garlic Maillard Reaction to work overtime. The sugars and amino acids fuse and flavor takes flight. Use the right Black Garlic Temperature And Humidity combo, and let nature handle the rest. Then invite your friends over, cut open these goldmines, and let them think you’re a Black Garlic wizard.
The Role of the Maillard Reaction in Black Garlic’s Transformation
Sure, let’s pull back the curtain on the science behind those midnight-black cloves. If you’ve ever wondered why black garlic tastes nothing like its white cousin, it’s thanks to something called the Maillard Reaction. It’s a scientific way to say “browning without burning,” and it’s the star player in the Black Garlic Fermentation Process.
When you’re fermenting regular garlic over several weeks (seriously, patience is vital), the sugars and amino acids meld in a process called the Maillard Reaction. As a result: sweet, dark, and sticky garlic that looks like something Willy Wonka would make if he owned a farm stand. The white cloves undergo a flavor transformation the longer they ferment, mellowing their traditional punch into something much richer, deeper, and almost fruity.
Why the Maillard Reaction Matters in Black Garlic Aging
Here’s the chef’s secret: getting that Maillard Reaction right is how you unlock flavor. As the Black Garlic Fermentation Process hums along, magic happens at every level. If you use the right settings, caramel notes appear, new textures develop, and you start to unlock savory (think: mild meatiness) flavors in addition to all the complex sweet ones. This unique chemical reaction usually kicks in around 140 to 170 degrees Fahrenheit. Keep it too cool, and nothing much happens; too hot, and you’ll cook instead of ferment. Balance is key.
At home, this means Black Garlic Temperature and Humidity should stay steady. Try to avoid peeking—and resist lifting the lid every hour (I know, it’s hard). Interruptions will mess up that precious Maillard magic and hold up the flavor fiesta you’re working toward.
As that Black Garlic Aging Time crawls along, the cloves change more than their color; they develop a sticky sweetness and tart finish you won’t get in regular garlic. If you’d like to take a deeper dive, you can visit our production guide, which lets you compare Black Garlic Production Aged Garlics Sweet Transformation against all the usual bulbs.
So, as you wait (and wait, and wait) for your black garlic to mature, take a little comfort in the science. The Maillard Reaction is your friend: it’s working hard to make your culinary experiment a delicious success, provided you keep hands-off for the sake of deep flavor. When you cross the finish line, store those gorgeous black cloves in an airtight pouch or jar at room temperature or in the fridge.
Determining the Ideal Black Garlic Aging Time
The aging time is where you really give your black garlic that special, mouth-watering, wake-up-the-taste buds flavor. Here’s the scoop: The Black Garlic Fermentation Process usually takes at least three weeks, but some let it keep going for up to a month or longer. Time creates magic here. Patience is what transforms the harsh bite of raw garlic into black gold so full of umami, people pay fifteen bucks for a jar of the stuff. Temperature and humidity, both crucial, help the cloves hold on to their juiciness instead of turning into hard little hockey pucks.
Let’s talk schedule: Many home cooks, myself included, start checking around week three. Peel back some papery skin and take a whiff. Do you smell caramel, balsamic, and perhaps a little raisin? The color should be deep ebony, not brown or gray. If your garlic’s still pale or needs a little more depth in flavor, give it a few extra days and check again. Don’t get antsy and pull it early; that’s kind of like pulling brownies out of the oven when they’re still batter. Trust the process.
Signs of Black Garlic’s Perfect Aging Time
Time isn’t the only factor in dialing in the ideal Black Garlic Fermentation Process. Look and feel play a role too. A gentle squeeze should yield a soft clove, almost jammy, that’s all plump and shiny, not dried or sticky. If you notice mold (it’s rare, but it can happen if humidity’s been off), or if the garlic smells sour or rotten, toss that batch and start fresh. Ideally, aging puts the Maillard Reaction into overdrive: That’s when the amino acids and sugar bust out new compounds to give you those dark, toffee-black results.
If you get those dreamy, deep flavors at twenty days, congratulations: You might be an overachiever. Most people settle in that slightly-longer, three-to-four-week range. Remember, temperature, humidity, and even the garlic variety can vary results. But if you work the Black Garlic Fermentation Process patiently, you’ll get your own little stash for use far beyond what you’ll find in the store.
Creative Culinary Uses for Homemade Black Garlic
So you have black garlic sitting pretty on your counter. Now comes the fun part—eating it. This ingredient takes a little patience during the Black Garlic Fermentation Process, but once you have that glossy, sweet treasure, it is like finding chocolate chips hiding in your pancake. With homemade black garlic you can thrill your breakfast, lunch, and dinner plates, all without worrying whether it is fresher overseas or sitting under a store’s fluorescent lights for months.
Everyday Black Garlic Cooking Ideas
Think of your bulbs as flavor TNT. You can mash a few cloves into butter and slather it on everything—a piece of toast, a crusty bread, even a ribeye will thank you. It turns cream cheese into a deluxe spread, quick as a wink, and levels up your eggs so fast you get whiplash. Stir it into risotto or pasta once you take it from the heat and watch it melt in, leaving everything with that deep, truffle-vibe funk. Any mayonnaise gets a “is this aioli now?” treatment with three cloves mushed-in, perfect for fries and burgers.
Homemade black garlic also stars as a key ingredient in marinades and sauces. Blend it, basil, and olive oil for a new-school green goddess dressing. Puree with honey and either lemon or balsamic vinegar for a thick sauce that will make plain chicken or roasted vegetables sing. Stir into olive oil for a one-of-a-kind dip.
One thing I do that makes me feel like a restaurant chef: I squish black garlic through a mesh strainer, combine it with a pat of butter, and set that over my steamed vegetables. The heat melts the butter giving a semi-sweet, almost syrup topping that screams “high-end steakhouse.” This is also the easiest way to finish roasted carrots, cauliflower, sweet potatoes, or even rice.
If you are feeling more creative, make black garlic oil for drizzling. Heat olive oil just warm, remove from the burner, blend in two cloves per tablespoon of oil, and let it sit for twenty minutes. It is mind-bending on popcorn, salad, or grilled bread.
Try adding mashed black garlic to sour cream or Greek yogurt for an onion dip on steroids (in a good way). This works well in burgers or baked potatoes, or served as a sauce for roasted meat. It also makes instant vinaigrette base by adding a splash of vinegar, olive oil, and whatever soft herb happens to be wilting in your fridge.
The sky is wide open for what you can do with black garlic, especially as you gain experience. Every bite reminds you that all you needed was a slow Black Garlic Fermentation Process, some basic kitchen experiments, and suddenly you have a completely new pantry staple that rocks dishes you have been making forever.
When you want even more inspiration, take a look at some Ignite Your Culinary Creativity with Black Garlic dishes and applications that prove you can reach for your jar of homemade black garlic again and again. None of it requires a master chef badge—just a sense of food adventure and maybe a cloth napkin for mopping up happy tears.
Conclusion
Now that you know the Black Garlic Fermentation Process inside and out, you are ready to give it a try and bring some umami magic to your own kitchen. With the right equipment and a little patience, you can enjoy those boldly sweet flavors without relying on store-bought options. If you ever get stuck, head back to the basics and check out the step-by-step guide or review the best temperature and humidity ranges to get your garlic aging just right.
Black garlic is one of those versatile goodies that lights up any dish it touches. Whether you blend it into sauces or use it for an earthy punch in sandwiches, now you can find new ways to steal the show with your fresh batch. Give those black garlic creations a spin and see what fits your style—and when you nail it, spread the love and inspire someone else to take extra steps in their own kitchen adventures.
FAQ
What tools do I need to try the Black Garlic Fermentation Process safely at home?
You only need a basic rice cooker with a “keep warm” function, clean fresh garlic bulbs, and plenty of patience to start the Black Garlic Fermentation Process at home. Reliable temperature control is key. Some folks enjoy fiddling with Pok Pok-inspired setups, but a basic rice cooker with a consistently monitored environment is fine for most home cooks. I remember thinking the process would fill my kitchen with the “smell of old socks,” but the rice cooker eliminates much of it with a well-latched lid. Make sure you set up your cooking space with good ventilation—crack a window, at least! This makes the process safe and stops any bold garlic aroma from taking over your house.
How long should I age black garlic for the best flavor?
The Black Garlic Fermentation Process usually takes three to four weeks, giving you plenty of time to watch the garlic transform. You will want to leave those bulbs mellowing for at least 21 days to let the sugars and aromatics do their thing. At this “Black Garlic Aging Time,” each clove becomes tender, syrupy, and spreadable. If you check the cloves daily in week three and find most are jet black (not sticky white or tan), you are nearing the finish line. Too little time, and the cloves are still spicy; too much, and they get a muddy taste. Patience pays off. I know when my garlic is perfect when I sniff a tangy, sweet, fruity note instead of the bite of raw garlic.
How much does humidity matter in making black garlic at home?
In the Black Garlic Fermentation Process, keeping the right humidity will save your batch from drying out or blitzing your flavor. The sweet spot is 70 to 80 percent humidity. Too little, and you may witness shriveled, hard nuggets in your “transformation pot.” Too much, and nasty molds can sneak in. I once tried a batch in Arizona in summer, when the air wicks moisture away from everything; I had to add a cup of water to a smaller container with a lid inside the rice cooker to keep the air from drying out. Watching for humidity is fussy, sure, but it spells the difference between smooth, soft black garlic and the heartbreak of shriveled garlic doughnuts.
What makes black garlic sweet and not just roasted or cooked?
The Black Garlic Fermentation Process works because the garlic goes through the “Maillard reaction,” which converts natural sugars into rich, sweet, caramel-y aromas. This is why black garlic tastes like balsamic, licorice, tamarind, and a sprinkle of dark chocolate—not just bitter, mushy roast garlic. My first bite of homemade black garlic was soft but chewy, a little squeaky as a dried plum. I slathered it onto crackers with blue cheese… it tasted more like dessert than classic bagna cauda. The Maillard reaction brings this funk, and it is what the Japanese call “umami.”
What are signs my fermentation has gone wrong, and what can I do?
The Black Garlic Fermentation Process can occasionally drift into sour land, but spotting issues early will save your precious crop. Bad signs include white or green spots (a sign of mold), a sad shriveled or bone-dry appearance, and—worst of all—the funky, “medicinal” smell of gone-bad black garlic. If you smell burnt tire each time you open the pot and see weird “mushroom” caps growing, do not eat it! Small leftover smells of gently cooked garlic are all right, but stinky, extreme stickiness by week 4 means too much moisture got in; try raising the temperature next time or use looser foil to keep moisture from puddling up.
Can I ferment black garlic with fancy garlic like purple or Asian bulbs?
Yes, you can wow your crowd by starting the Black Garlic Fermentation Process with sturdy hardneck or beautiful Asian or purple garlic bulbs. The gentler, bigger cloves of Elephant garlic or Peking garlic, once fermented, have even wilder flavors, and the color turns blue like the veins in Roquefort. At Korean grocery stores, I saw giant tubs of purple garlic, sold as a super-strong supplement… two weeks at 145 F, and they tasted of dried apricots and dates. I like Asian garlic because of its giant cloves, which are easier to peel when dried; regular local garlic, however, is just as good on a fresh bagel with cured salmon.
How can I use my homemade black garlic in meals for my family?
Once you have succeeded at the Black Garlic Fermentation Process, you can work magic into just about anything—from basic eggs to slow Sunday ragù. Mash the jet-black cloves, then fold them into sushi rice for that umami “pop,” stir into mayo for a decadent sandwich spread, or blend with kimchi in vinaigrette for a bright funky salad. You can rub the garlic paste in roasted pork, lightly whisk it into ramen or turn it into a full-on Korean BBQ sauce. Some folks even eat nuggets as a fruit snack or mash into yogurt. I flick little bits in my soup or over sautéed onions instead of sugar to balance sweet and acid. A fresh batch will inspire all sorts of kitchen adventure—watch that whole bulb disappear by lunchtime!