

Black Garlic Vs. Regular Garlic: Key Differences in Flavor and Nutrition
Do your senses buzz when a surprise flavor sneaks into a dish? That might have been black garlic, adding its sweet, tangy punch just where you least expect it. The Black Garlic Vs. Regular Garlic showdown is more than a foodie trend: this fallen regular bulb has 200 to 400 percent more antioxidants than raw garlic. Last weekend I whipped up some smoky mashed potatoes, mashed in a smidge of black garlic, and set the dinner table abuzz! Its aroma alone—imagine caramel, balsamic, and roasted garlic in one does all the talking.
Still, what is black garlic, and how does it stack up in Black Garlic Vs. Regular Garlic? Both start as the humble white garlic bulb we know, but time and controlled heat transform the former into a black, sticky delicacy. Let’s walk through what makes each tick, where they meet in the middle, and how to make black garlic at home that bursts with flavor and fragrance. Ready to dive in?
Understanding Black Garlic: A Unique Culinary Delight
Let’s cut to the chase. If you’ve ever felt disappointed by a jar of “black garlic” snagged in a rush from the big box store, you’re not alone. The real stuff can be hard to find, and nothing store-bought comes close to what you can make for yourself at home. So, let’s uncover what makes authentic black garlic so special.
Exploring the Sweet and Savory Essence of Black Garlic Versus Fresh Garlic
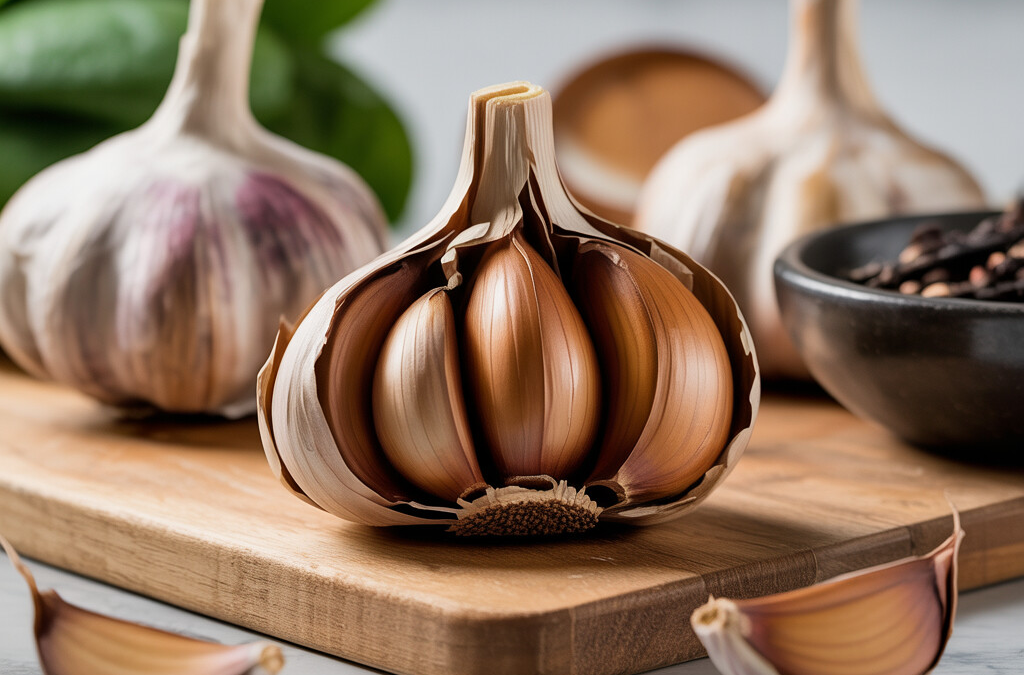
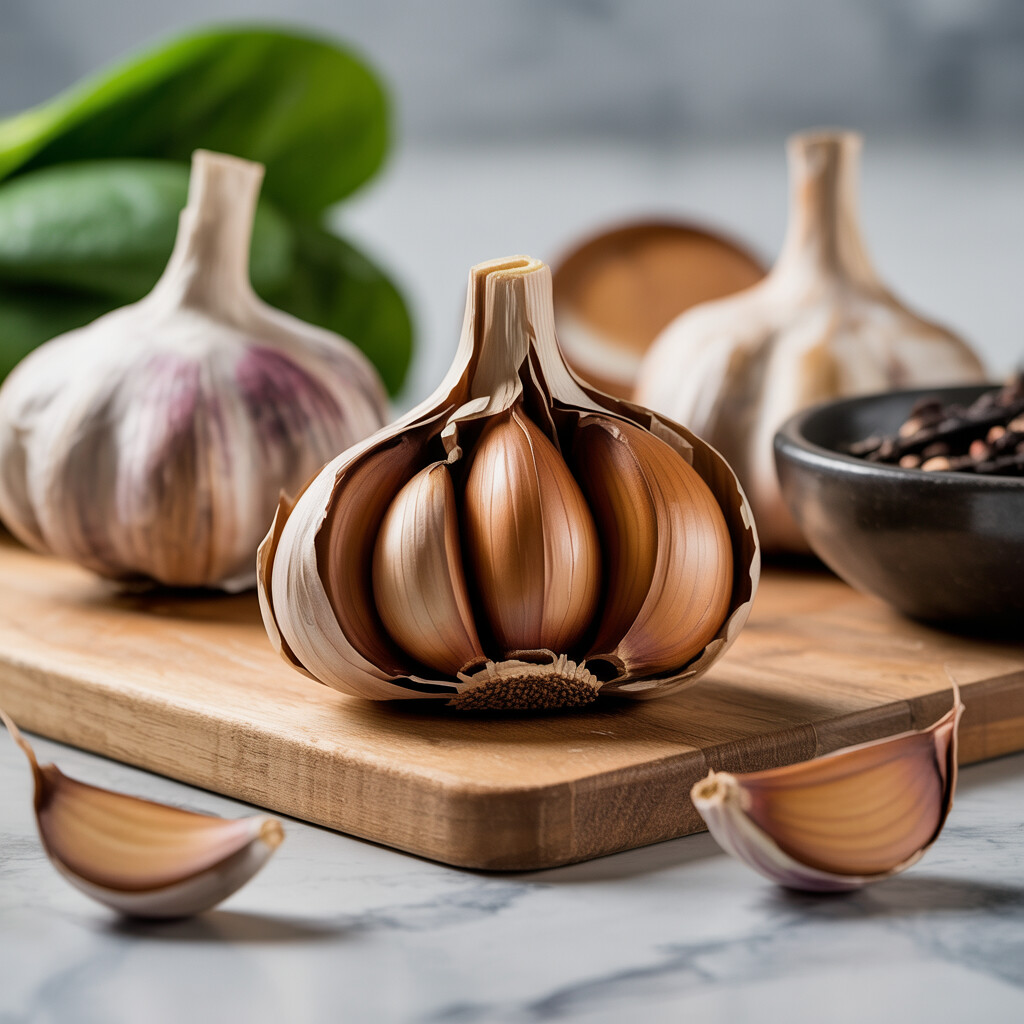
Think of black garlic as regular garlic’s cooler, sweet-talking cousin. It struts onto the scene as bulbs or carefully peeled cloves that have gone through a slow aging process. This process is not one of decay but transformation. Humble garlic bulbs are warmed and hydrated for several weeks; what you get isn’t garlic “rotten” by any means, but garlic that’s been mellowed, caramelized, and deepened. Crack open a clove and you’ll find soft, jet-black flesh, with a sticky quality and an aroma that surprises: rich and honey-like, with notes of balsamic, tamarind, and even dark chocolate.
When you compare black garlic vs. regular garlic, the flavor shift is undeniable. Regular garlic hits with sharp, spicy notes that keep vampires (and coworkers) at bay. Black garlic, on the other hand, whispers with gentler, umami-packed complexity. Picture roasted garlic, dialed-up with Swedish licorice, than a pungent, tear-inducing bulb I’d use to flavor weeknight marinara. I first learned to appreciate this magic at a ramen bar in San Francisco’s Japantown, where black garlic oil drifted across my savory tonkotsu broth.
Now that more folks want to experiment with this ingredient, all sorts of products call themselves “black garlic,” but many don’t have the real texture or intensity. That’s why making your own can be life-changing. When you paper towel-dab oil on each clove and seal garlic in proper conditions, you wake up flavors that store-bought brands just don’t offer. Suddenly, black garlic isn’t just an ingredient; it’s a flavor powerhouse, and one with an ancient origin story all its own.
Black Garlic vs. Regular Garlic: Key Differences in Flavor and Nutrition
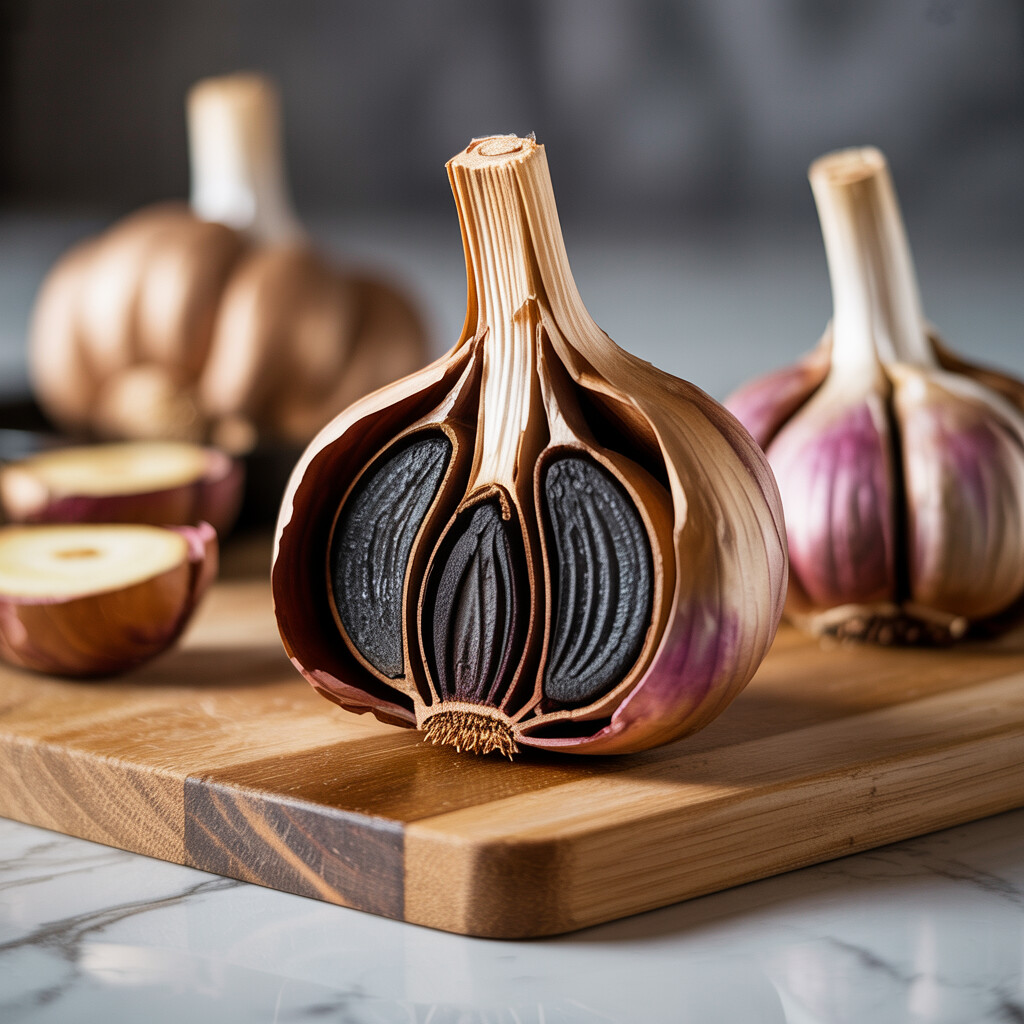
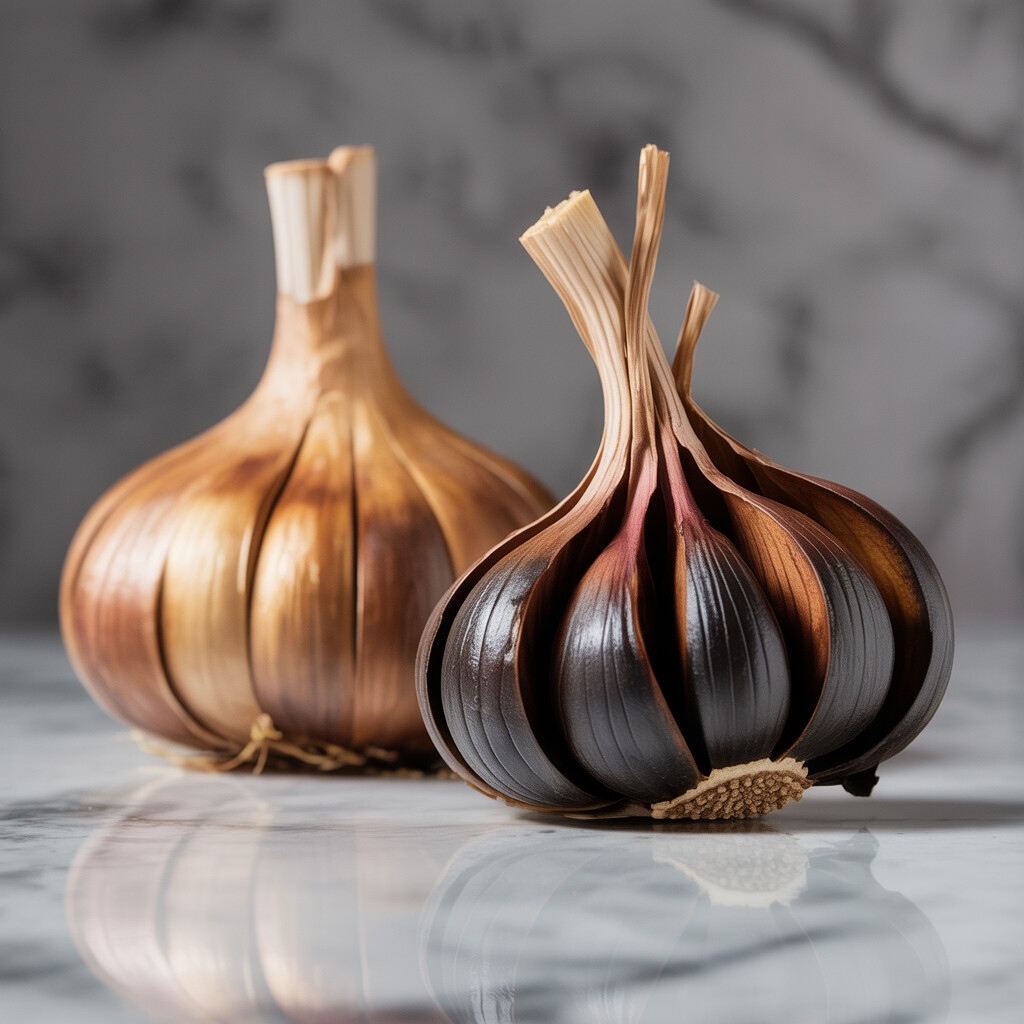
When you stack Black Garlic vs. Regular Garlic side by side, you see right away how much these two surprise your taste buds differently. Regular garlic, that garlic we find piled high in grocery bins, gives food a sharp kick and holds a bold place on your cutting board. Its pale, papery cloves can make your eyes water and leave a strong smell on your fingertips that will tag along for days. Toss a raw clove in oil or sizzle it in a pan, and that harsh flavor softens into an earthy aroma.
Open a bulb of black garlic, though, and get ready for something else entirely—a treat for super-fans who love discovering new flavors. Black garlic goes through a simple aging technique that bumps it far outside ordinary: its cloves turn dark, sticky, and a bit chewy, a total change from the white, crunchy norm.
Comparing Health Benefits, Aroma, and Uses: The Unique Divide
The main difference between black and regular garlic starts with taste. Imagine black garlic as regular garlic’s sweet, mellow cousin: earthy, rich, almost fruity, with hints of dark balsamic, tamarind, or even prune. Chewing it feels like biting into a berry, with deep sweetness and barely any sharp burn. Regular garlic, on the other hand, will always stand up and make itself heard in your food. How you cook each kind makes a huge difference, too. Black garlic easily slips into a compound butter, gets whipped into sauces, or is dotted across a pizza, adding unique flavor depth without fuss.
When it comes to nutrition and health benefits, Black garlic compared to regular garlic levels up in subtle yet important ways. Black garlic’s aging process amps up certain key nutrients. Its antioxidants, which drive healthy cells into action, go even higher during the aging phase. Regular garlic, raw and spicy, still brings a lot of health power, but black garlic’s antioxidant punch and milder aroma mean you can eat more without worrying about odor.
If you’re wondering, “Black garlic versus fresh garlic, which should I add to my recipes?” it just depends on your kitchen mood. Are you looking for a punch of strong flavor, or do you want something special, super sweet, and complex? Both types give different vibes in dishes, so experimenting with both is key. At the end of the day, side-by-side, black garlic and regular garlic are two stars in one flavorful universe—each with its unique edge. Just remember, if you rarely spot black garlic at your local store, you can always make your own and own the difference yourself.
Health Benefits: How Black Garlic Compares to Fresh Garlic
Comprehensive Health Benefits: Black Garlic vs. Raw Garlic
If you ever find yourself standing in your kitchen, holding a head of garlic and weighing whether to reach for black garlic or regular garlic, you are not alone. There is something deeply satisfying about knowing you are not just making your meal more delicious, but you might also be doing your health a solid. When we zoom in on Black Garlic Vs. Regular Garlic, it is clear they each have their health perks, but black garlic pulls ahead in a few interesting ways.
Fresh garlic, which most of us know, delivers allicin, a sulfur compound responsible for its signature bite and sharp aroma. Allicin, even though it can make your breath a bit more… memorable, has been linked to heart and immune health. When you stick garlic in a slow cooker or ferment it properly, it turns dark, sweet, and oh-so-soft, creating black garlic. During this transformation, some of garlic’s nutrients get boosted, which surprises a lot of people who think of it as just regular ol’ garlic with extra steps.
Above all, black garlic is loaded with antioxidants—more than you will find in its raw cousin. The natural fermentation process sparks something called the Maillard reaction, turning those cloves into a powerhouse that some small studies say might combat inflammation even more than raw garlic. If, like me, you are trying to cut back on salt and want more flavor, black garlic delivers a caramelized, tangy punch without the sodium. That is a win for your heart and your taste buds.
Below, let’s dig into how their nutrients actually stack up:
If you have noticed that eating fresh garlic can irritate your stomach or leave your mouth tingling (I know I have), black garlic is much gentler. The fermentation softens those harsh raw compounds, so nearly everyone can enjoy it—even folks who skipped garlic in the past.
And if grocery stores near you do not stock black garlic, don’t get discouraged. You can make your own by following a few careful steps at home (more details coming up) and get all those health benefits for less money. With black garlic, you are not just boosting flavor but fueling wellness with every bite. If you are still curious about the Difference Between Black And Regular Garlic or need easy ways to incorporate more black garlic into your daily meals, we will dig even deeper as this guide goes on.
Step-by-Step Guide: Making Black Garlic at Home
So, your taste buds are curious and the shelves at your local store fall short. You’ve probably wondered how hard it could really be to make black garlic at home. Let me tell you, it’s easier (though slower) than you might think—especially if you want to taste the next-level flavors when weighing Black Garlic Vs. Regular Garlic. Here’s how to do it.
Handy Steps for Homemade Black Garlic Technique
First off, grab whole heads of fresh garlic. Don’t separate the cloves or peel the skins. If your home is stocked with a rice cooker or maybe even a slow cooker that keeps things around 140°F, you’re ready to go. Pop those heads in your cooker, sit them on a rack to keep the garlic off the hot outer bottom, and let them be. This is a waiting game where patience is key to crafting your own stash of black gold.
Set your cooker to its “warm” setting—or use a temperature controller if you have it handy. The magic number is 140°F for the sweet umami transformation you’re after. Trust your nose after a week or so but be strong—this is a 3-4 week low-heat marathon, not a sprint. Avoid peeking too much; the humidity and onions’ best qualities depend on being cozy and consistent in there.
Never, ever try to speed up the process with higher heat. Garlic’s delicate flavors get lost, and you risk ending up with some dried, bitter product that will just make you grumpy. If you’re working in the kitchen daily while this is cooking, don’t panic about the aroma. Mine made my house smell like I was living in a fancy noodle shop—odd, but honestly, after week one, your nose barely notices. Smells aside, gorgeously blackened garlic comes only with time and steady warmth.
After the month’s up, your garlic should be dark as night, slightly shrunken, soft, and sticky—more fudge than fresh. Cool the heads on a rack, then let them dry out a bit before storing. This means you’ve brought out that gentle luxury when it’s time to see how Black Garlic Compared To Regular Garlic on charcuterie or in recipes.
Now with your own black garlic, you’ll be able to step up your kitchen game without any supply issues. No need to scan stores that just end up disappointing you—make it at home, understand the hype, and show off to your foodie friends, all in one go.
Essential Equipment and Ingredients for Homemade Black Garlic
Before starting your black garlic journey, you’ll need a few essentials. I remember the first time I tried this at home, the kitchen smelled wild, but I could practically taste the sweet reward. All you need are garlic bulbs in their skins, a rice cooker or slow cooker, a clean towel, and a patient attitude.
Must-Have Gear for Making Black Garlic at Home
Go for plump, fresh garlic bulbs. Winter garlic or local varieties hold up best during slow aging. Skip soft or shriveled bulbs—they will not yield good results no matter what you do.
The real magic happens when you keep garlic bulbs warm and humid, steadily, for two to four weeks. You don’t need tools worthy of a commercial kitchen. I use my trusty rice cooker with a “keep warm” function. Any modern slow cooker with a steady setting works very well, but resist the urge to crank up the temp. Too much heat will dry out the garlic. If the device gets hotter than 160 degrees, you risk trials and tears. Skip oven tricks and sous-vide workarounds unless you truly crave the unknown.
Next, cushion the bulbs with a clean kitchen towel if your device fits only one layer. That extra padding helps vent humidity into the cooker so your black garlic does not become little jerky bulbs. Some chefs use foil to wrap garlic, but a towel is safer and simpler.
Do not forget: making black garlic at home takes patience more than elbow grease. Compared to buying it at stores, this can feel slow, but while waiting, your kitchen becomes one small-batch fermentation chamber.
When Black Garlic Vs. Regular Garlic is your mission, you do not need fancy gadgets—just the right garlic and a plan to keep it humid and gentle. Investing a little extra effort, compared to picking out regular garlic at the store, will leave you with rich, tangy bulbs sure to impress.
Culinary Uses: Incorporating Black Garlic into Your Recipes
Black garlic isn’t just garlic gone fancy. Instead, it’s garlic after a hardcore spa treatment. I’m talking weeks of low and slow heat until sulfury sharpness melts away and chocolatey, jammy, sweet-sour wonder takes its place. If you feel ho-hum about regular garlic after all this talk, don’t worry. Black garlic has a knack for making you rethink basic cloves. This is where homemade matters most, especially if your local store stocks nothing beyond sad, dried-up bulbs. After creating your own batch, prepare to play culinary matchmaker.
Savory Transformations: Best Ways to Use Black Garlic Instead of Regular
Think of black garlic as an easy cooking cheat code. Toss minced black garlic into aiolis and salad dressings to spark nutty depth. Use a fork or the back of a chef’s knife to mush some cloves right into the yolks for next-level deviled eggs. Whisk black garlic paste right into softened butter and slather it on grilled steak or roasted chicken; try black garlic butter as a shortcut to “What did you put in this?”
Pasta dishes are another delicious destination for homemade black garlic. Warm some black garlic in olive oil and stir into your noodles for the best pantry dinner ever. Blend some in with hummus or spread it generously on toast. These moves let that sweet-savory spark sing.
The best part: Unlike with fresh garlic, you never worry about its raw heat taking over or sticking to your hands for days. The result isn’t stinky at all. Instead, it’s mellow and sticky-sweet, accenting cream sauces or providing contrast with something spicy.
Rolling out a homemade pizza? Give those blobs of black garlic prime space before sending it to the oven. Fancy a late-night snack? Black garlic, soft cheese, and seeded crackers make a duo easily as addictive as Netflix. For more on how black garlic slips seamlessly into so many culinary uses, don’t pin yourself into a garlic-bread-only corner. Add some to a vinaigrette, stir into risotto, swipe on flatbreads, or use anywhere garlic flavor strikes you as sharp.
Black Garlic Vs. Regular Garlic, Explained Some say black garlic can’t replace regular garlic. Not true. Black garlic brings body and surprise where you want flavor but not overload. Regular garlic or fresh garlic always brings cooked-allium excitement but lacks the caramelly umami a happy black clove now offers you. Diced regular garlic caramelizes; diced black garlic brings layered funk so you use one for comfort, the other for flavor curiosity.
It really comes down to this: Where garlic used to be the silent supporter, black garlic makes you think, maybe out loud, “Why didn’t I try this sooner?” Instead of black garlic being rare or exclusive, now it’s yours. That extra step (making it yourself) pays off far beyond casseroles or bougie restaurant menus. It brings versatility and punch. And trust me, your taste buds will thank you.
Storage Tips: Preserving the Quality of Your Black Garlic
Now that you’ve conquered the art of homemade black garlic, let’s make sure all that effort doesn’t go to waste. Black garlic, compared to regular garlic, is a bit trickier to store. Those gooey cloves are sweeter and much higher in moisture, so they need a little TLC.
Ways to Keep Black Garlic Fresh
Let the bulbs cool completely right after they finish cooking. I usually leave them out in a single layer on a plate for several hours. When cool, gently brush off any sticky bits on the outside papery skins. Do not rinse or peel the individual cloves just yet, though.
For the short-term, keep bulbs or whole cloves in a clean Ziplock bag or airtight container. Store them in the fridge. Regular garlic will keep well right on the counter, but black garlic needed that seal against humidity and odors in the refrigerator.
If you have a real bumper crop, never fear. Double-bag the bulbs or cloves, and freeze them in small batches. They’ll keep for several months frozen, always ready to slip out for a weeknight pan sauce or fancy snack.
No matter what method you pick, try to use your black garlic within 6 months. It will be safest, and taste best. As a bonus, homemade black garlic is always fresher than most store brands.
Whether you’re into black garlic versus fresh garlic for its softer flavor or for all the extra nutrients, following these tricks keeps your stash tasting like candy. If you need longer tips and want to make garlic last, check out these black garlic storage tips to keep it fresh.
Troubleshooting: Common Challenges in Black Garlic Preparation
With black garlic, you may get that crazy urge to check constantly, forget to check altogether, or panic at the first sign of trouble. This is totally normal. The process feels mysterious, but don’t lose hope. When making black garlic at home, the difference between black and regular garlic presents a few new hurdles. Here are the most common and their fixes, so you don’t end up with a baggie full of moldy, bitter bulbs.
Black Garlic Prep Troubles: What Went Wrong?
If your cloves look patchy brown instead of sticky black, they probably need a little more time. Older bulbs sometimes take longer. The weather inside your kitchen matters a bit too. So does the type of rice cooker or fermentation box you used. Still have pale cloves after three or four weeks? Put them back in for another week and turn the bulbs to help them age evenly.
A strong rotten smell is a sad sign, though, and it means your bulbs might be ruined. Garlic can go moldy if there was dirt on the papery skins, if the setup is too damp, or if your rice cooker doesn’t regulate temperature right. Keep things clean from start to finish and don’t let cooked bulbs rest in moisture. Quick rinse, gentle drying, and an airtight environment really matter. As a quick visual, black garlic’s surface turns from sunny ivory to dark brown, then deep black. If you see white or bright yellow-blue mold, toss that batch. It isn’t salvageable.
Texture off? Feel your cloves, then taste: If they aren’t sticky and soft, give them two more days, then check again. Drier and firmer cloves may taste sharp even when dark, so sometimes a sprinkle of water in the rice cooker helps. If stored without air, black garlic tastes sweeter and develops more of that balsamic-like tang that makes black garlic compared to regular garlic such a treat.
Unlike Black garlic versus fresh garlic, aged cloves contain more sugars and amino acids once the Maillard effect hits. Heat levels matter, so if you bump up to a higher setting to compensate for a lagging batch, mark your days and check progress every 24 hours. If they start tasting burnt, scale back.
Don’t let trouble get the best of you. If you open a batch that didn’t turn out, you’ll know what you did differently. Eventually the hands-on time hits a sweet spot- about as tricky as baking a hearty loaf of bread. You’ll end up with bulbs bursting with character, dotted with umami flavor, ready to launch your next flavor adventure.
Conclusion
Now that you know the difference between Black Garlic and Regular Garlic, you can see why this delicious ingredient is worth making at home. With the handy tips from our step-by-step guide, you’ll be ready to start your own batch in your very own kitchen, even if store-bought options are hard to find. By making it yourself, you have the chance to experience all the unique flavors and benefits black garlic offers.
Why not roll up your sleeves and try a new culinary adventure? When you start with raw bulbs, who knows, one day you might be the friend who inspires someone else with a delicious drizzle of black garlic honey or a pop of umami to your next grilled cheese.
FAQ
How do you make black garlic at home easily?
You can make black garlic at home with a rice cooker, slow cooker, or a fermentation box. The process takes time: keep your garlic bulbs at around 140 to 170 degrees Fahrenheit for two to three weeks. The sugars and amino acids inside break down slowly, turning the white cloves dark, sweet, and sticky. The smell gets intense, but that’s a small price to pay to enjoy something this jammy and nutty. The main point in black garlic vs. regular garlic is this lengthy, low-heat “roasting” that brings out a whole new flavor. When I first tried it, I couldn’t believe I’d made anything so tasty without much kitchen fuss—the trick is holding back and letting chemistry work its magic.
What’s different in taste between black garlic and regular garlic?
Black garlic tastes sweet, tangy, and subtle, kind of like a balsamic reduction or blackstrap molasses. Regular garlic, on the other hand, has an unmistakable sharp bite and leaves your hands (and house) reeking of all things garlicky. When you look at black garlic vs. regular garlic, imagine regular garlic as a loud, proud singer, while black garlic feels like a soulful, mysterious poet. I tried adding regular garlic to creamy hummus for years; one day I dropped in black garlic. The earthy taste just transformed my dip into a rich, savory obsession.
How does black garlic stack up nutritionally to fresh garlic?
When you size up black garlic versus fresh garlic, black garlic leads in some nutrients. You’ll get higher amounts of certain antioxidants like S-allylcysteine that help reduce inflammation and boost your immunity. The allicin in regular garlic drops during aging, but new antioxidants form during the process. Fresh garlic holds its sharp zing and antimicrobial punch, but black garlic’s gentle taste makes it easier to add to sauces or salad dressings, even in bigger amounts. A friend who shies away from raw garlic absolutely loves black garlic grilled on chicken, thanks to its mellow charm and tummy-friendly magic.
How long do you need to ferment garlic for black garlic?
You must give your garlic two to three weeks of consistent low heat, patience, and a little faith before you enjoy black garlic. Black garlic compared to regular garlic may take a lot longer to make, but its taste makes up for the wait. Let the bulbs gold quietly in your rice cooker, fermentation box, or dehydrator at about 140 to 170 degrees Fahrenheit. Don’t open the lid often—moist air is key. My first batch took exactly sixteen days to change from simple bulbs to sticky, slightly caramelized little treasures. Afterward, eating them with sharp cheese blew my mind and made the time commitment so worth it.